High voltage resistors are used in medical devices to keep electrical currents within preset ranges.
The high voltage used means that a smaller number of resistors can be used to achieve the desired output current.
These resistors need to be able to withstand decades of use, so they are built with less material and lower manufacturing costs are factored into their design.
The majority of medical devices don’t operate at very high voltages (around 1-2V).
However, there are some exceptions.
Many implantable diagnostic devices (IDDs) operate at 5-20V, and the operating frequency is typically higher than the general range as well.
This means that cost considerations become more important when designing a high-voltage resistor for medical devices.
Below we’ll explain how you can build a low-cost solution for high-voltage resistors without compromising safety or reliability.
What is a Resistor Used for in Medical Devices?
High voltage resistors are used in medical devices to keep electrical currents within preset ranges.
The high voltage used means that a smaller number of resistors can be used to achieve the desired output current.
These resistors need to be able to withstand decades of use, so they are built with less material and lower manufacturing costs are factored into their design.
The majority of medical devices don’t operate at very high voltages (around 1-2V).
However, there are some exceptions.
Many implantable diagnostic devices (IDDs) operate at 5-20V, and the operating frequency is typically higher than the general range as well.
This means that cost considerations become more important when designing a high voltage resistor for medical devices.
Below we’ll explain how you can build a low-cost solution for high voltage resistors without compromising safety or reliability.
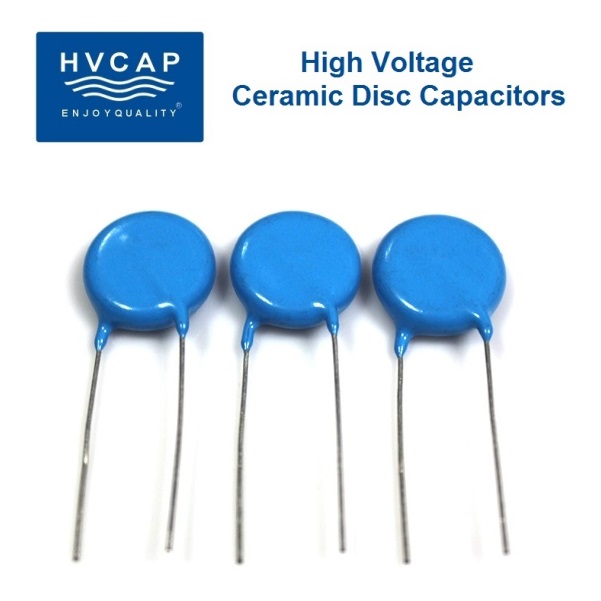
What to Look For in a High Voltage Resistor
Low cost – High voltages mean that a lot more resistors are required to achieve the desired output current.
If a device has high operating voltages, the cost of the resistors is also going to be higher.
Ease of fabrication – High voltage resistors are typically under 1mm in diameter and longer lengths.
They’re typically also FR-4 or FR-5 printed circuit board (PCB) material, which is easier to work with than the more expensive FR-32.
Higher-quality construction is important to ensure the resistors last for decades.
Some manufacturers use tin plated tracks while others use tin plated leads.
Higher-quality resistors have silver plated tracks and leads.
Back-EMF tolerance – As resistors get longer, the wire’s resistance decreases.
The resistor’s back-EMF (electromotive force) can also increase due to increasing current flow.
A tolerance on the resolution of the resistor’s value is therefore required to account for these changes.
For example, a resistor with a 5% variation in value (e.g., 9.9 ohms instead of 10.0 ohms) is acceptable.


High reliability – High voltage resistors usually operate at temperatures of -15ºC to 85ºC.
The former is too cold to avoid problems such as warping the resistors, while the latter is too hot to avoid reliability issues.
A higher operating temperature range is therefore required to avoid reliability issues.
 Step 1: Identify the Need
The first step when designing a high voltage resistor is to identify the operating voltage and operating frequency of the product.
For example, you might need a resistor that is rated for a maximum of 5V and operates at a frequency between 1kHz and 10kHz.
Next, you need to find the right components to meet your needs.
A popular choice is the ceramic specialty resistor (CSR).
The CSR is most commonly used for high power applications due to its high-quality construction, high reliability, and low cost.
Another popular choice is the FR-4 PCB material due to its cost effectiveness and ease of fabrication.
A close competitor to the CSR and PCB is the FR-5 material.
Like the PCB, the FR-5 material is relatively cheap.
However, the CSR and PCB have the benefit of being able to withstand high voltages and high temperatures, respectively.
The FR-5 material, on the other hand, lacks the PCB’s resistance to high voltages and is thus not as reliable in some applications.
Step 2: Choose the Right Material
When choosing the right material for your high voltage resistor, you need to take note of the operating voltage and the material’s operating temperature.
For example, the PCB material is most commonly used at temperatures below -20ºC.
The CSR and PCB have the advantage of being able to withstand high voltages and high temperatures, respectively.
A relatively new type of material is the FR-5 polymer with a metal core.
The polymer is cheaper than the PCB and FR-5 PCB materials and is often used at higher operating temperatures.
However, it is not as durable as the PCB or FR-4 and can be damaged by moisture.
When choosing the right material for your high voltage resistor, you need to take note of the operating voltage and the material’s operating temperature.
Step 3: Calculate Capacitance and ESR
Resistors have a certain amount of capacitance, which affects their frequency and impedance.
The ESR (Equivalent Series Resistance) value is the equivalent resistance of the capacitance and is quite important, as it accounts for the DC component of the impedance.
Capacitance is measured in picofarads (pF) or millifarads (mF).
In most cases, the 1% tolerance of the capacitor is more than enough for a high voltage resistor.
The ESR is the equivalent resistance of the capacitance and is quite important, as it accounts for the DC component of the impedance.
Step 4: Add Parts to Create a Schematic Board Template
Once you’ve identified the components, calculate their values, and chosen a material for your high voltage resistor, it’s time to put them together on a schematic board template.
The schematic board template is a standard layout of solderless breadboards that are used to design electronics circuits.
The layout should have a column of components on the left and a column of power rails on the right.
There are a few things to keep in mind while designing a schematic board template.
First, you need to make sure that the components are placed properly and are within the recommended footprint of the power rails.
Second, you need to make sure that the components are powered with lower voltages.
Lastly, you need to make sure that the circuit is protected from any high voltages that might be present.